How to Make A DIY Chalkboard Wall Calendar

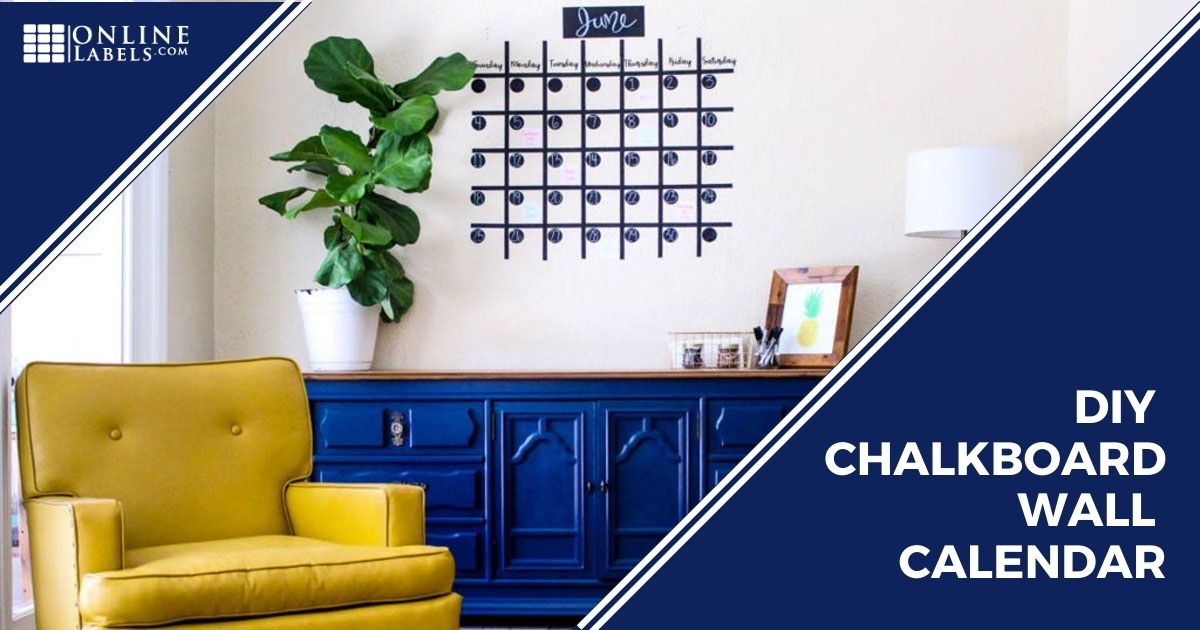
Today's post is all about getting organized, staying focused, and crossing off your goal list as a business owner. All three of these can be accomplished with one simple tool: a DIY wall calendar.
I know what you're thinking; there are a ton of apps and tools that already help organize your business appointments, goals, meetings, etc. But here's the thing – If you're anything like me, you're also a visual person.
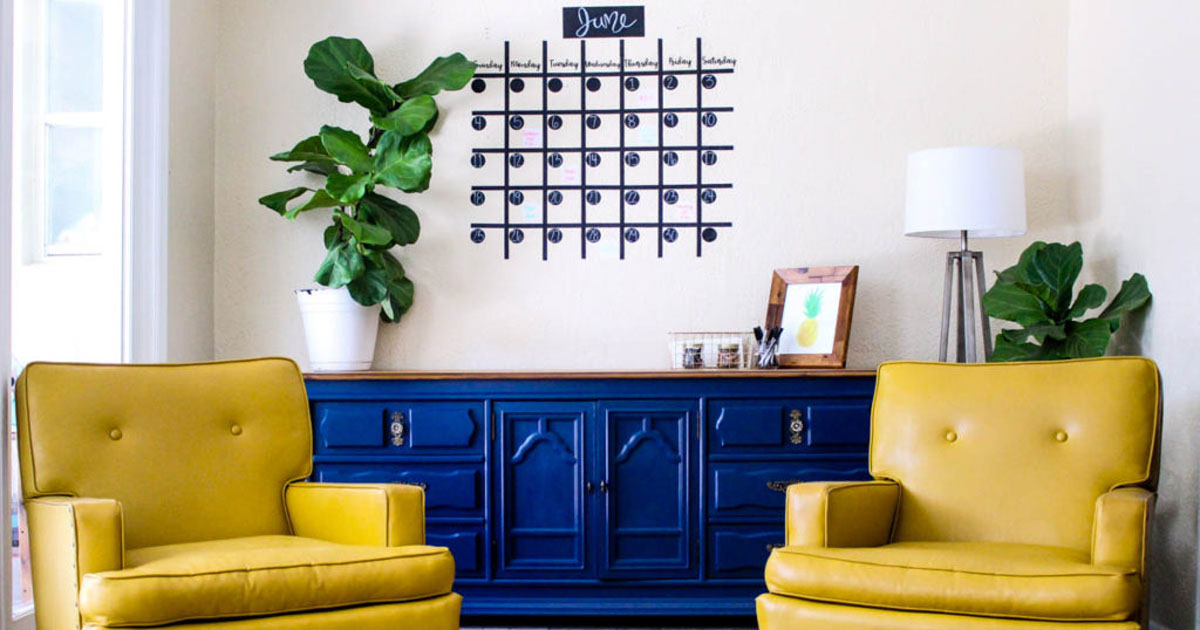
Of course, I can add important dates to my computer or on my phone, but these systems often fail me. I'm highly motivated when I can see a goal or deadline throughout the day. My solution? Creating this large wall calendar that I can't help but look at as I work in my office. I'm constantly reminded of my goals, upcoming deadlines, and meetings. I feel as if I'm always one step ahead.
The best part about this calendar is that it took 20 minutes to create and I spent less than $10. Now, that my friends, is a DIY project that I can handle.
Supplies
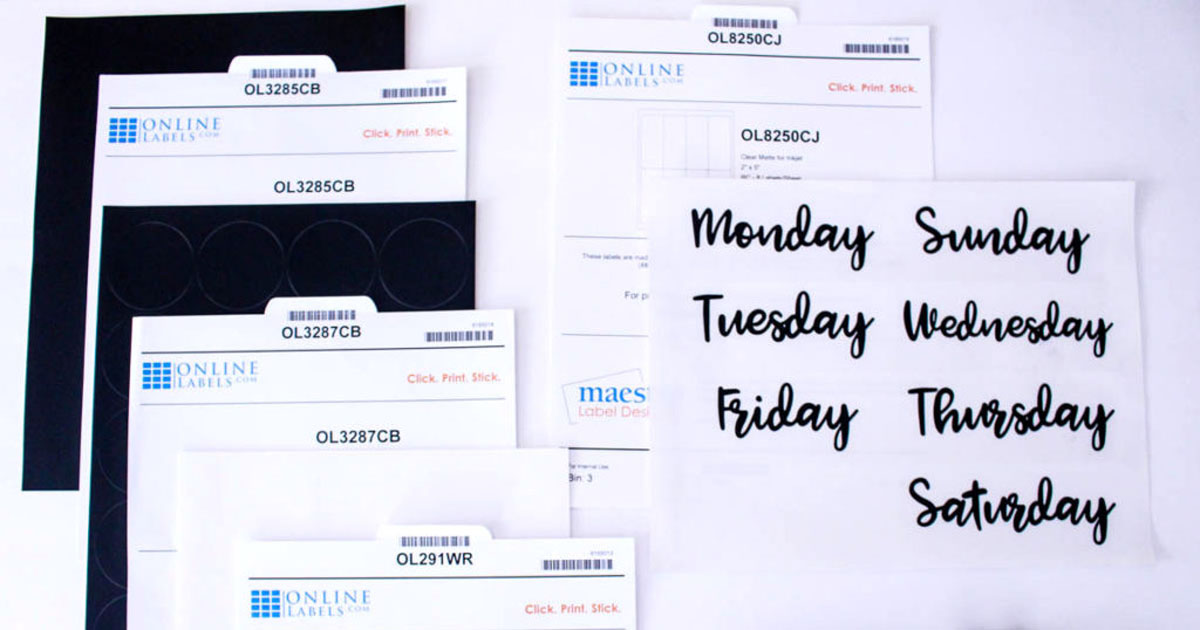
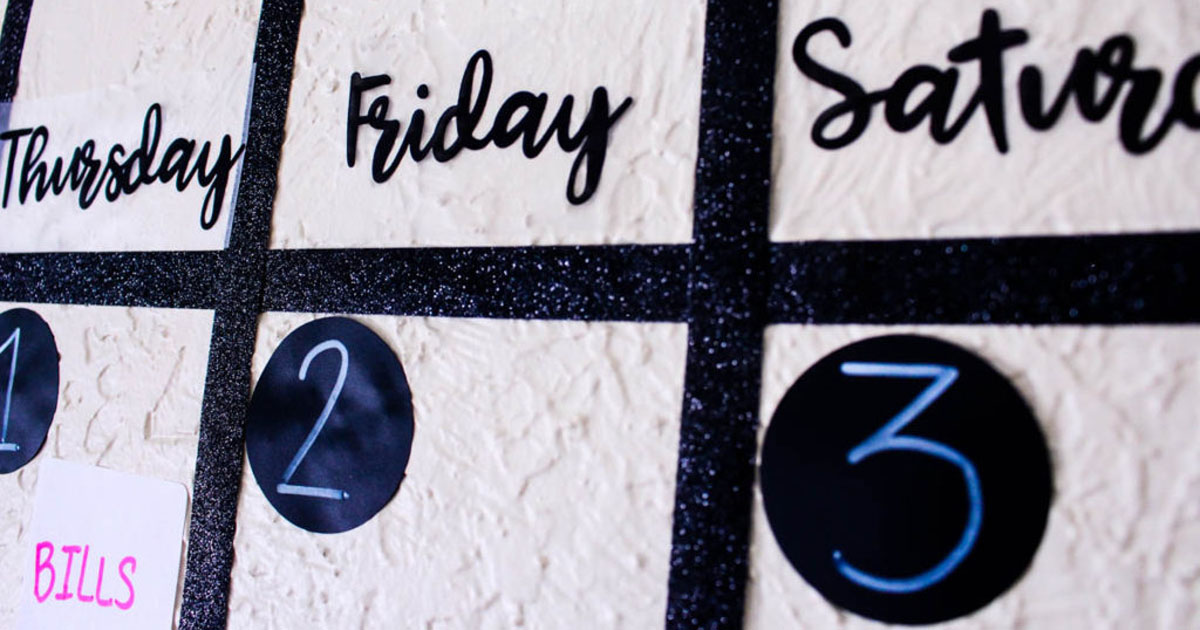
The chalkboard labels are a must-have for this wall calendar. They easily erase and you can quickly update the calendar every month.
- OL8250 – Clear rectangle labels for days of the week
- OL3287CB – Chalkboard circle labels for dates
- OL3285CB – Full chalkboard sheet for the month
- OL291WR – Removeable square labels for your content on the calendar
- Free days of the week printable
- Chalk marker or regular chalk
- Washi tape for the grid
Instructions
Step 1
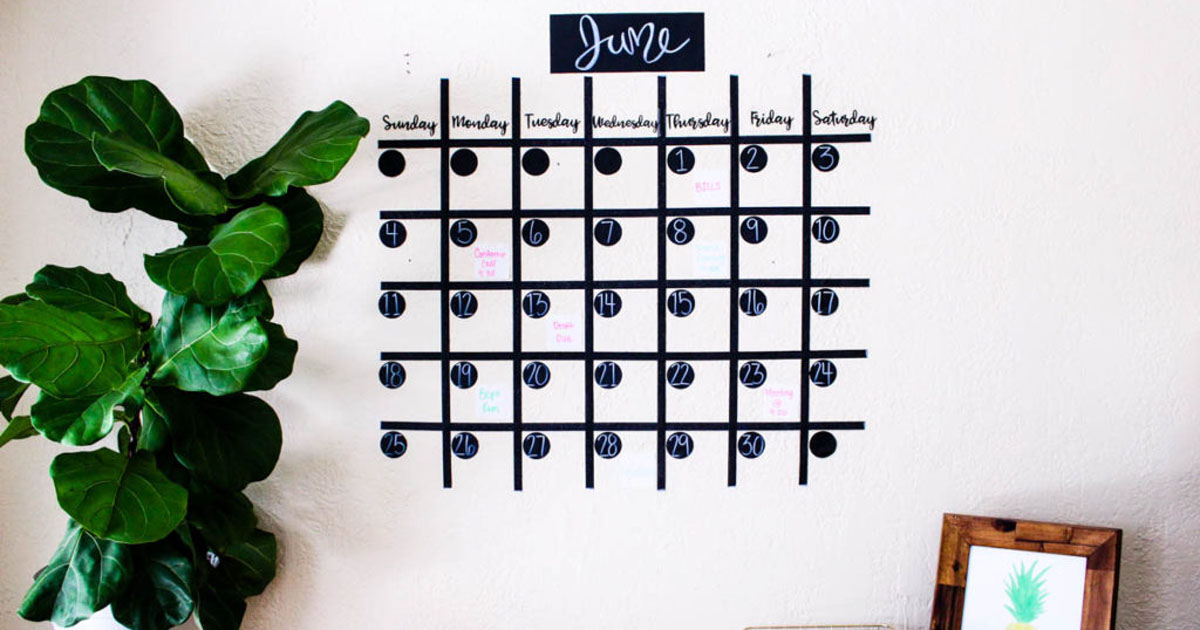
Decide the size of your wall calendar. Using the washi tape, evenly space out and apply the washi tape to create individual boxes. Use a ruler or measuring tape to help with this step.
Step 2
Cut the full chalkboard sheet in half and write the current month. Adhere the label to the top of the grid.
Step 3
Apply the chalkboard circles in each square and write the corresponding number for each one. You can use the chalk marker or regular chalk.
Step 4
Print this free days-of-the-week label template on the clear rectangle labels. It's super easy to have your days of the week beautifully displayed.
You're ready to start adding to your calendar! These removable square labels are my go-to when adding my goals, appointments, deadlines, and meetings to my wall calendar. They can easily be removed and replaced if needed for any changes. Rather than writing in different colors, you can also order these labels in different colors to color code your calendar.
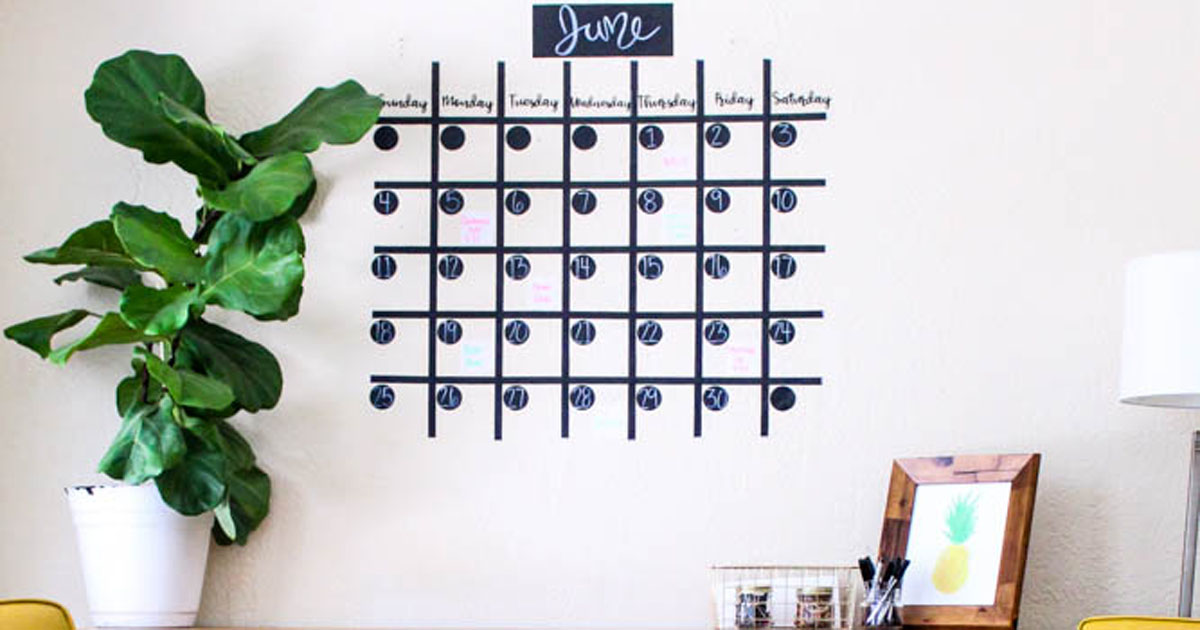
Use this wall calendar month-after-month as a visual reminder and tracker for your business organization and checking off those goals. Remember, things don't happen overnight so check them off a little at a time to reach those big goals. Don't worry about your walls. All of the labels used, including the washi tape, easily peel off without leaving any residue behind.
What are you waiting for? Time to order your labels!
