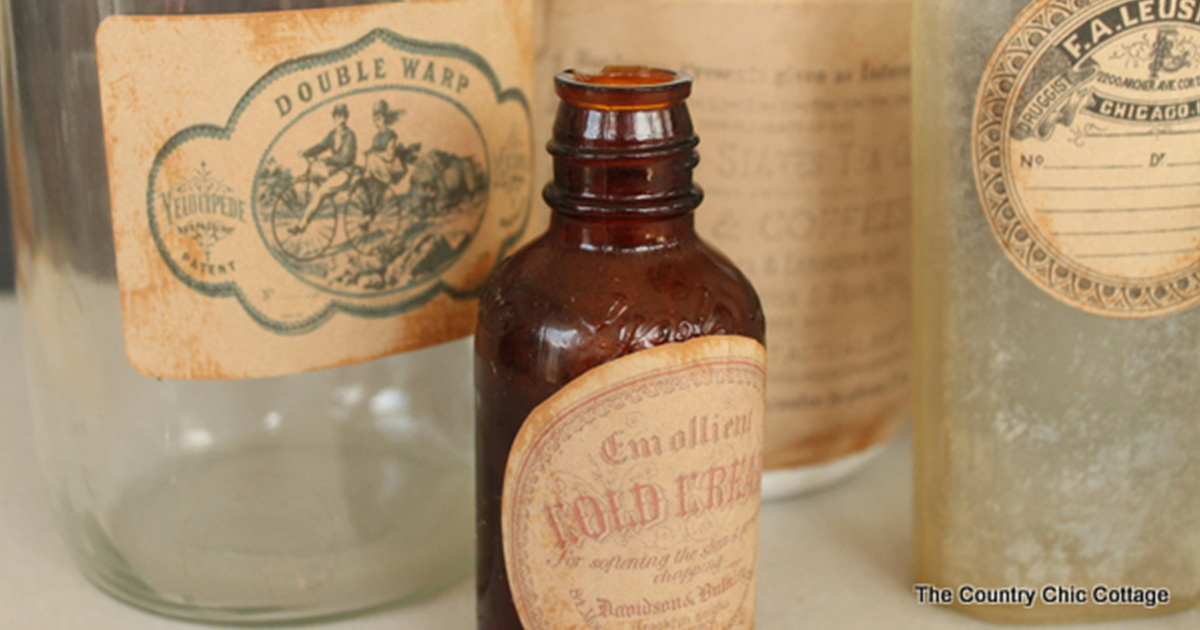
Make Your Own Distressed Vintage Labels in Minutes

Are you looking for an alternative way to make your products unique or do you have a project that needs some character? In the following DIY label tutorial, we show you how to make vintage labels with few basic items.
Supplies
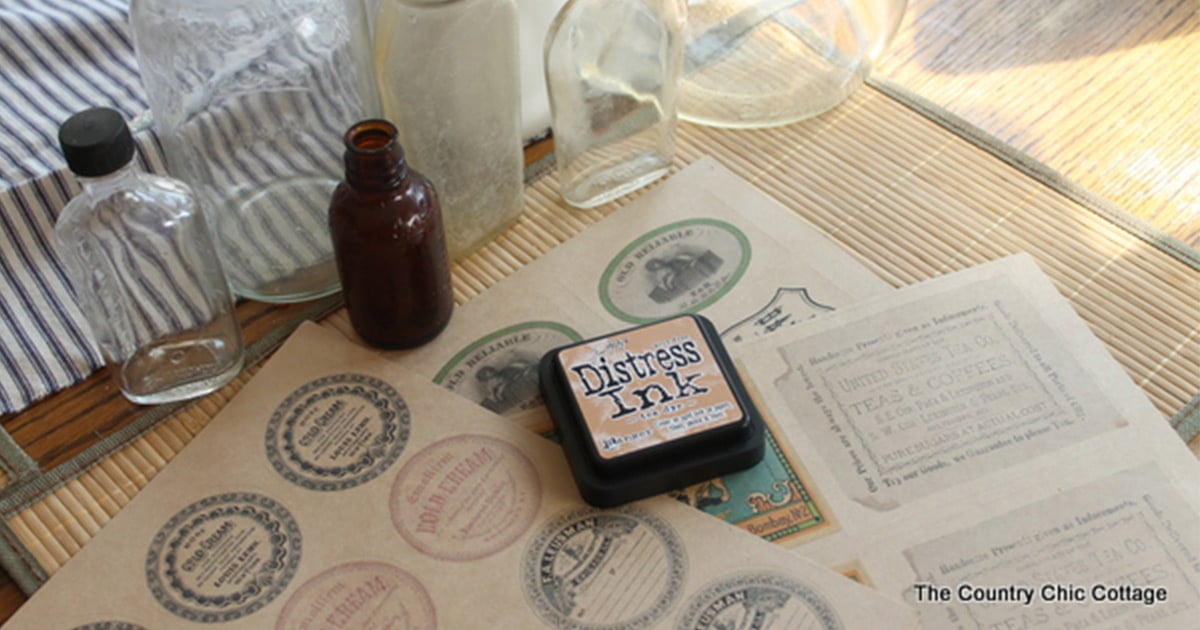
We used the following items to make vintage these vintage labels.
- 4" x 5" labels on brown kraft (OL475BK)
- 2.5" round labels on brown kraft (OL350BK)
- 3.375" x 2.3125" labels on brown kraft (OL5030BK)
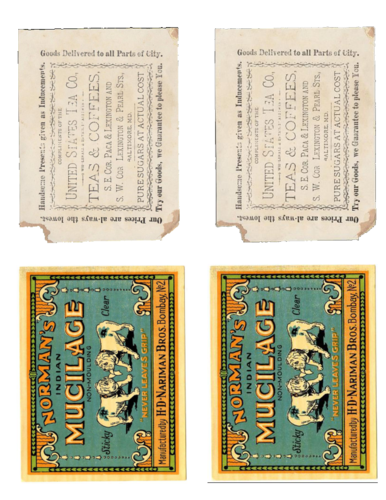
- Our free printables: glue, tea, and coffee labels; beauty and prescription labels; and cigar, rum, and clothing labels
- Old bottles and containers
- Distress Ink or other brown colored ink
- Computer and printer
How To
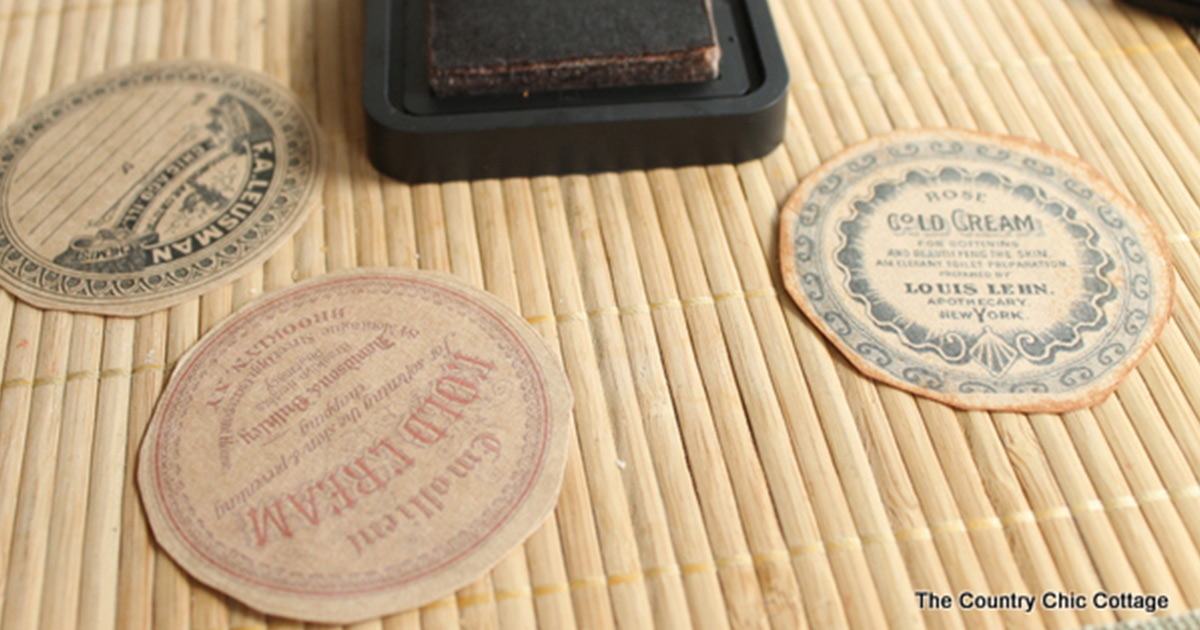
Step 1: Print Label Templates
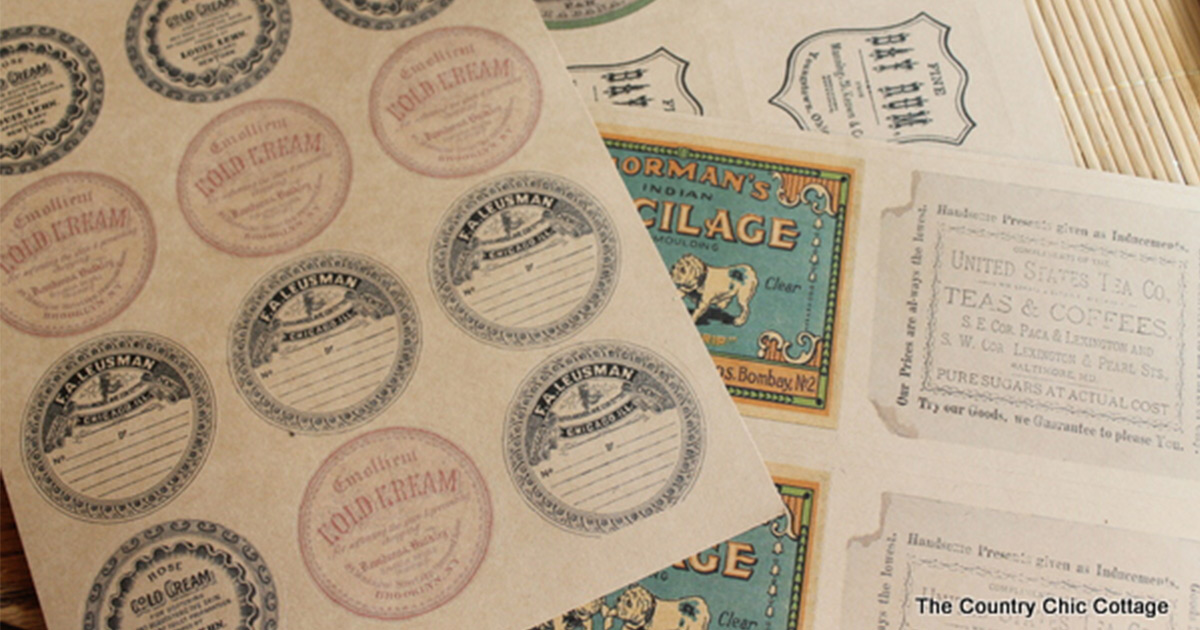
First, you'll need to download the free printable files below and print them onto your label sheets. You can use the corresponding label sizes listed above or print them on a full sheet brown kraft label and cut the designs out with scissors or a hole punch.


Step 2: Rough-Up The Edges
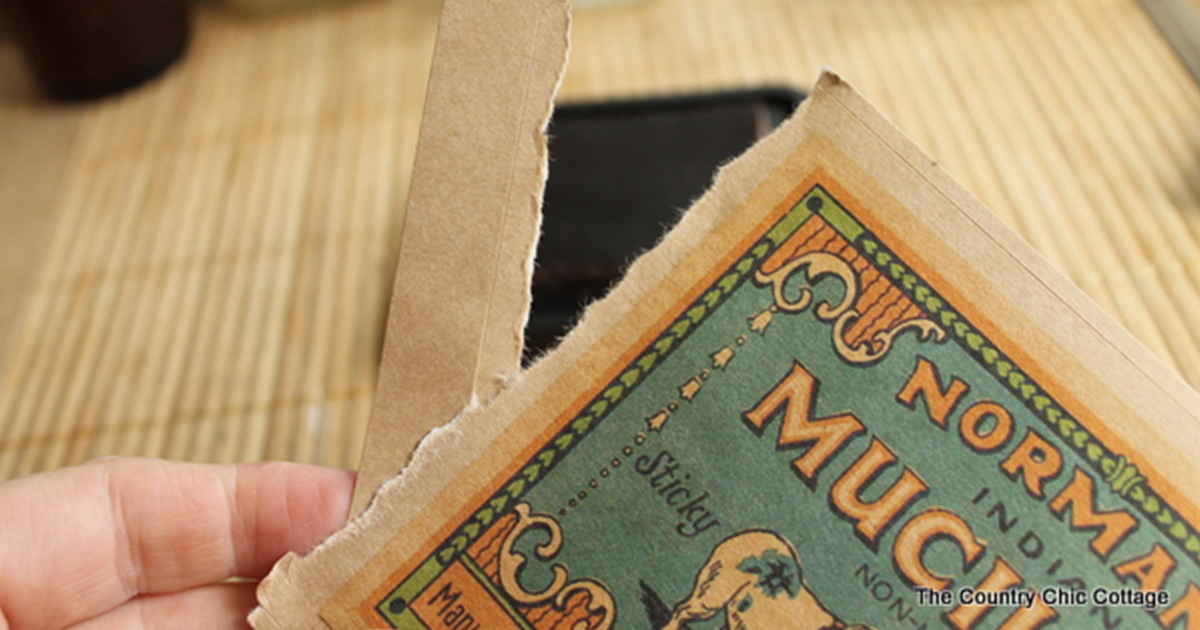
Cut around the clean-cut edges of the label with scissors to enhance the distressed look. You can try tearing the edges off the label for a natural torn look, too.
Step 3: Add Distressed Look
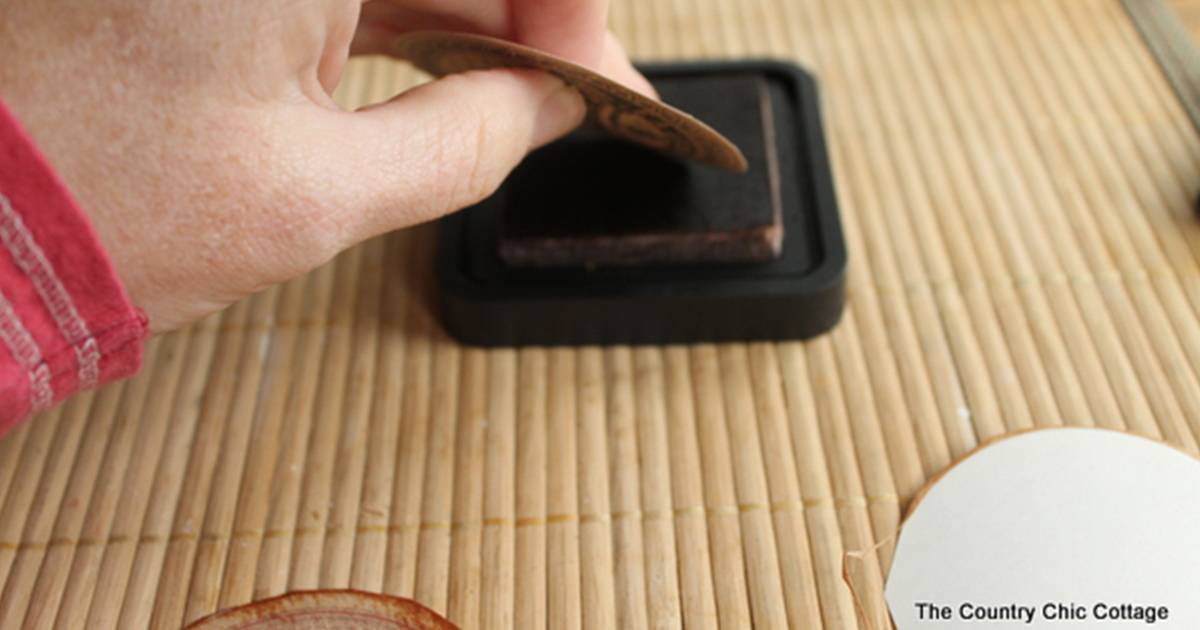
The brown kraft label material already makes them look vintage, but you can make them look even more worn with a little Distress Ink. Rub the label edges onto the ink pad.
Step 4: Peel & Stick
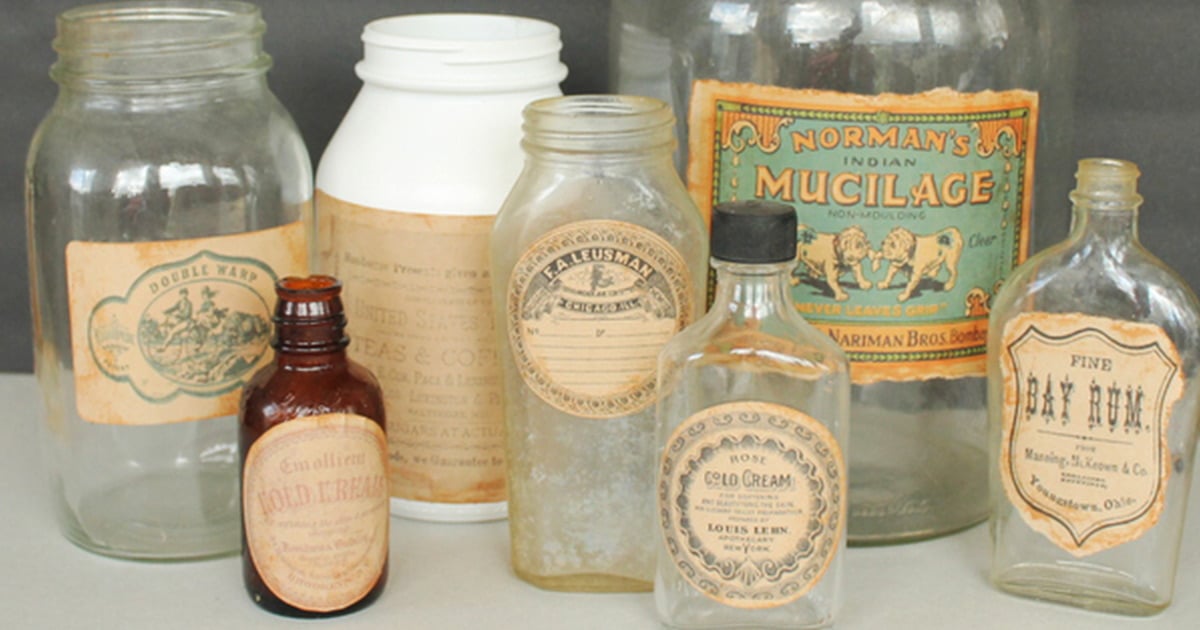
Once your ink has dried, it's time to peel the labels from their liner and stick them to your bottles and jars.
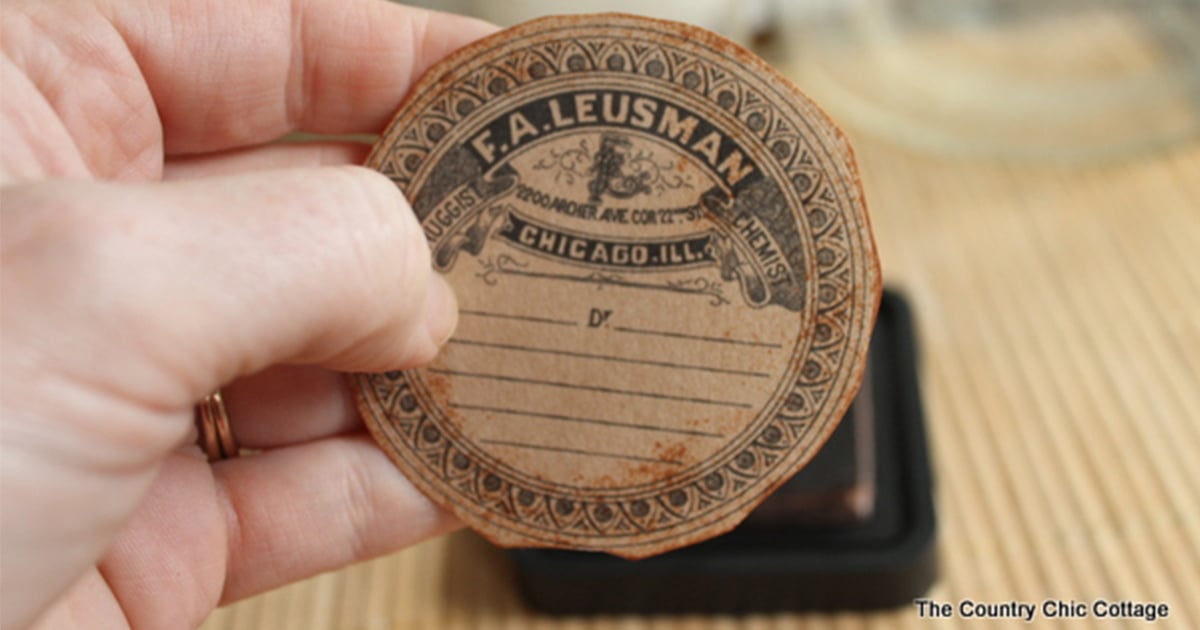
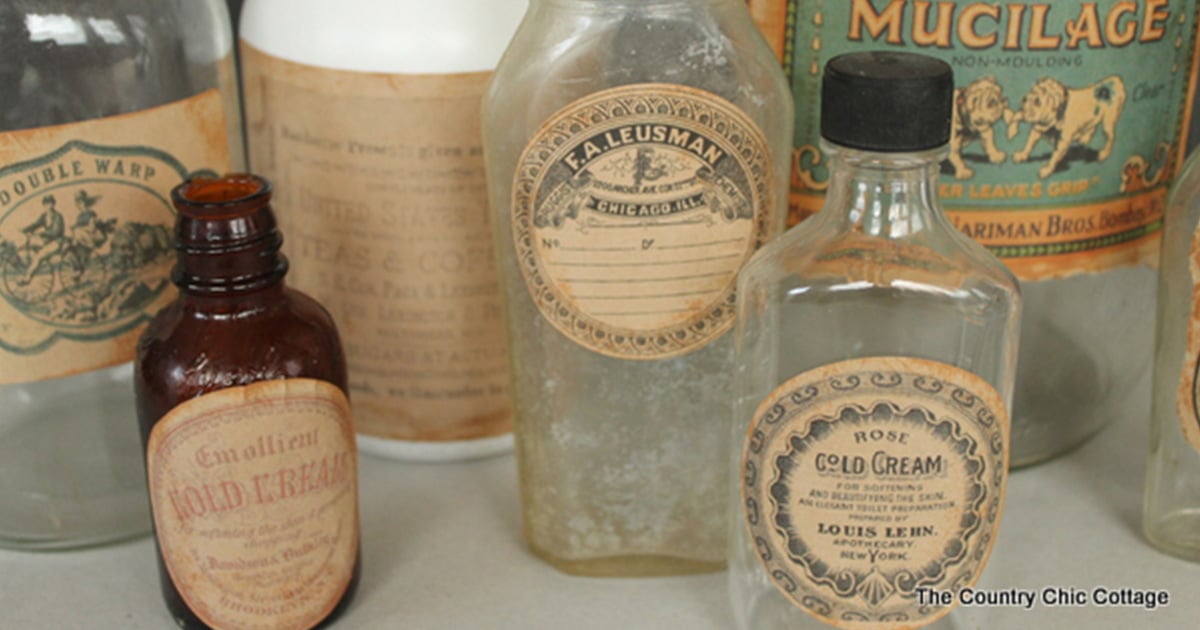
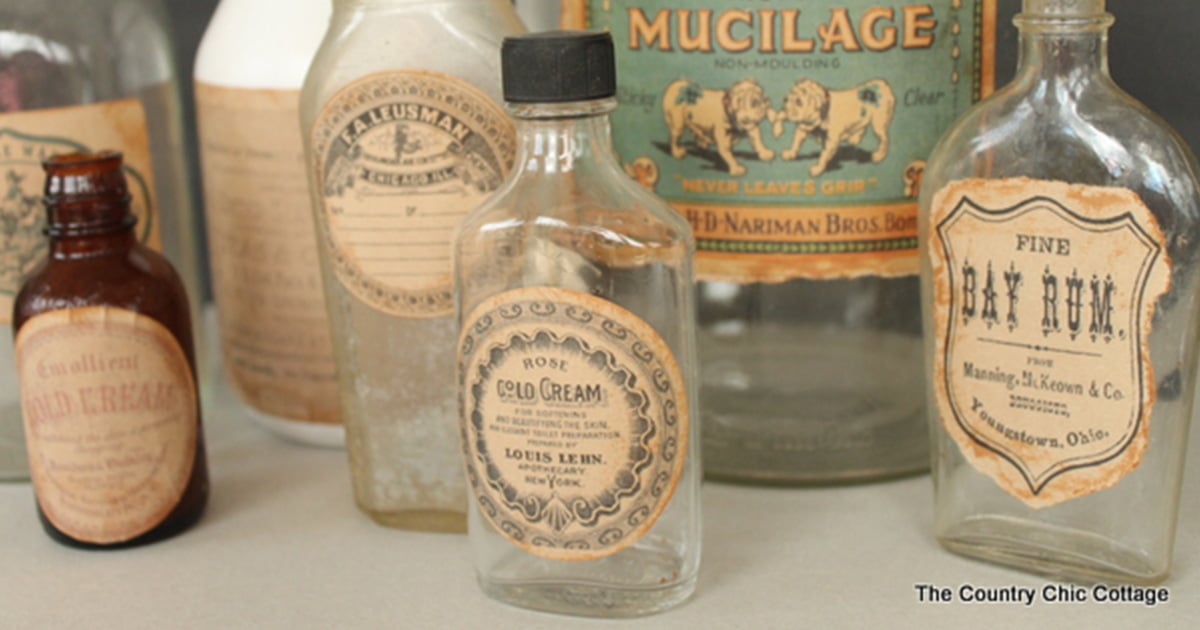
With the vintage graphics and handy dandy tips on how to give your label a distressed appearance, you can fool just about anyone into believing these bottles are older than your grandmother.
They look great and can be used for a wide variety of things like decor in a boutique store, props for photo shoots, event decorations, product labels, and so much more. Let your imagination run wild!
Created in partnership with printable designer Karen Watson from Graphics Fairy.
